Landscape photography allows us to capture the beauty of the natural world, from majestic mountains to serene seascapes. It's a genre that requires patience, planning, and a deep appreciation for nature. Whether you're just starting out or looking to refine your skills, this comprehensive guide will help you develop the technical knowledge and creative vision needed to create stunning landscape images.
Essential Equipment for Landscape Photography
While you can capture landscapes with virtually any camera, certain equipment will help you achieve optimal results:
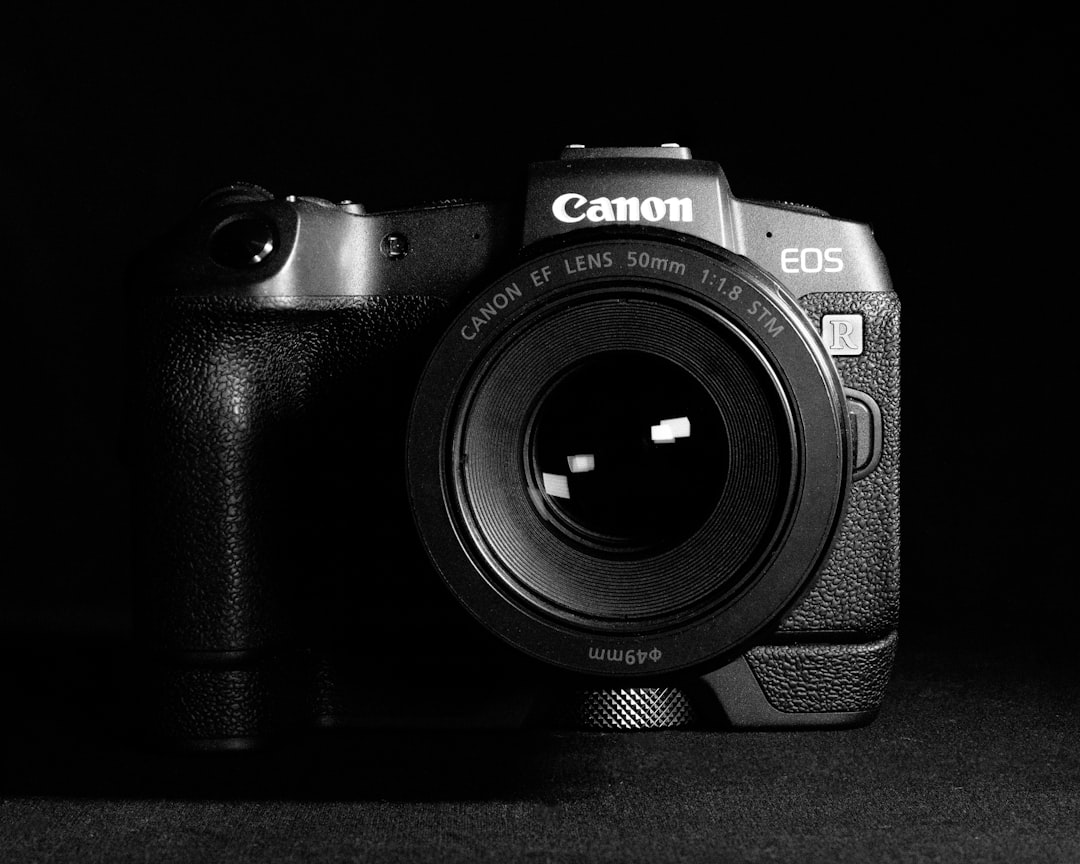
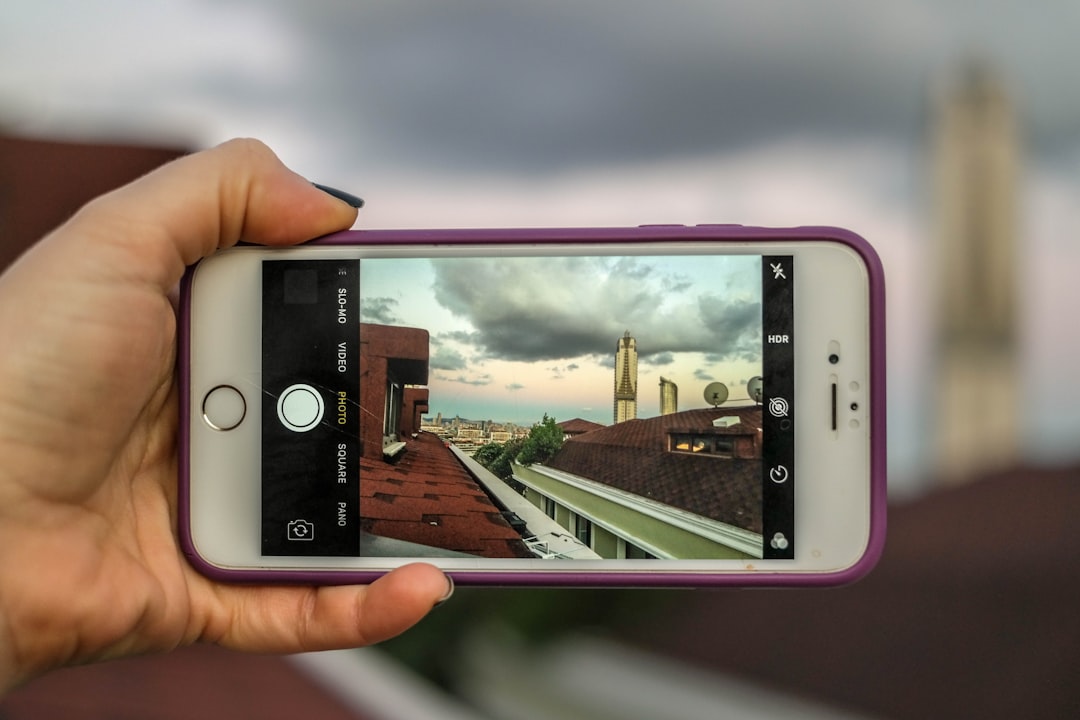
- Camera: A DSLR or mirrorless camera with good dynamic range is ideal, but even a smartphone can capture impressive landscapes in the right conditions.
- Lenses: A wide-angle lens (16-35mm) is the workhorse of landscape photography, allowing you to capture expansive scenes. A mid-range zoom (24-70mm) and telephoto lens (70-200mm) are also valuable for isolating elements and compressing perspective.
- Tripod: Perhaps the most essential accessory for landscape photography. A sturdy tripod enables sharp images in low light, allows for longer exposures, and helps with precise composition.
- Filters: Graduated neutral density filters help balance exposure between bright skies and darker foregrounds. Circular polarizers reduce reflections and enhance colors. Neutral density filters allow for longer exposures even in bright conditions.
- Remote shutter release: Helps prevent camera shake during longer exposures.
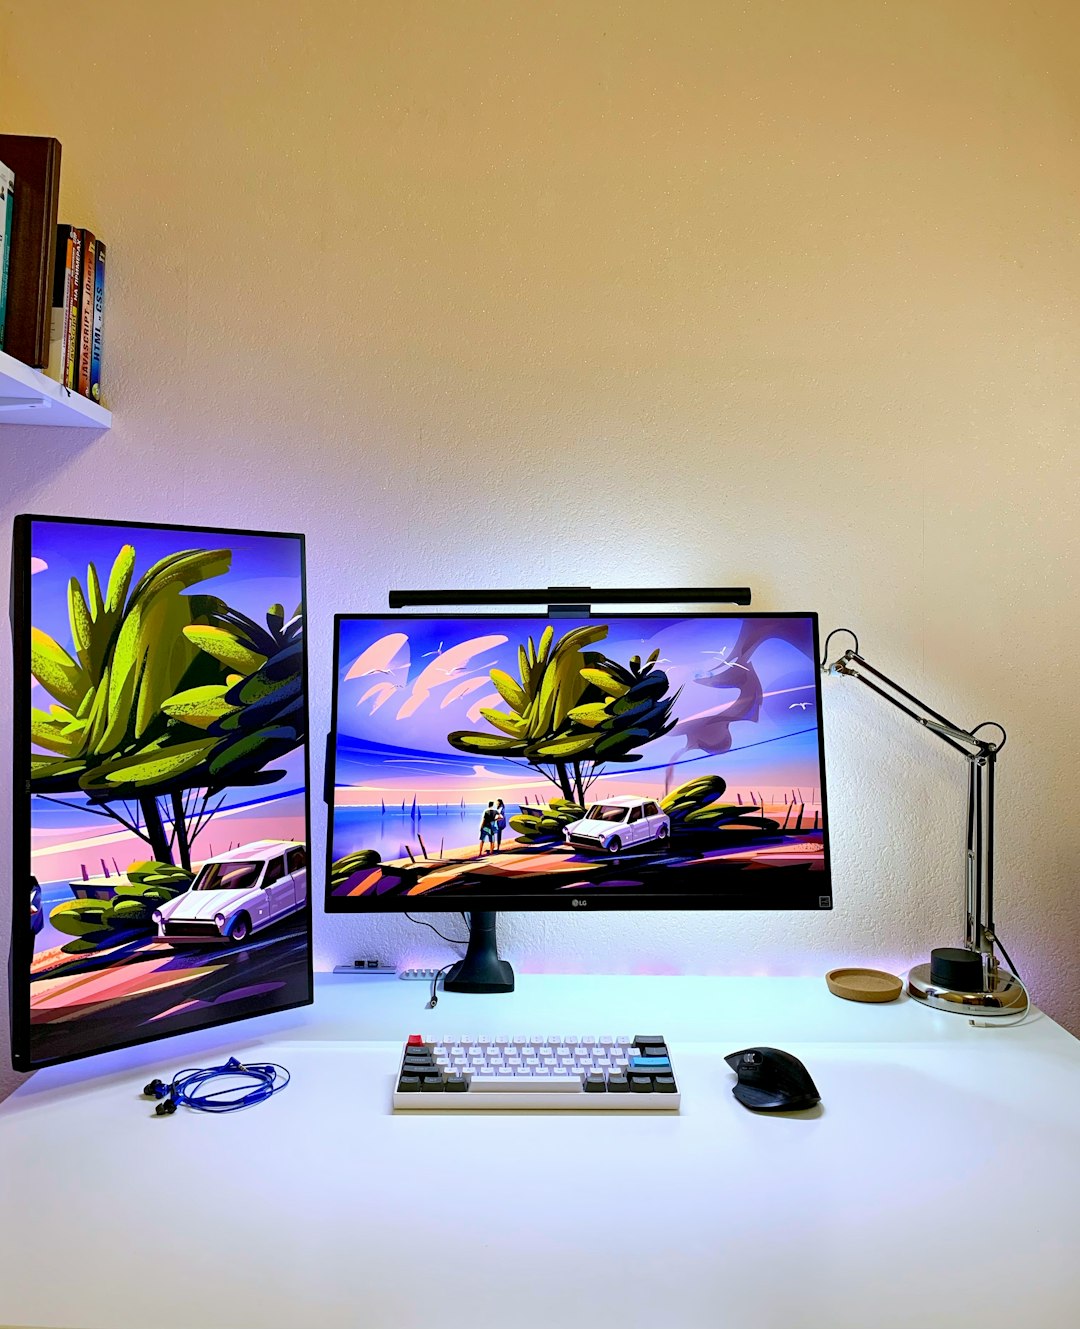
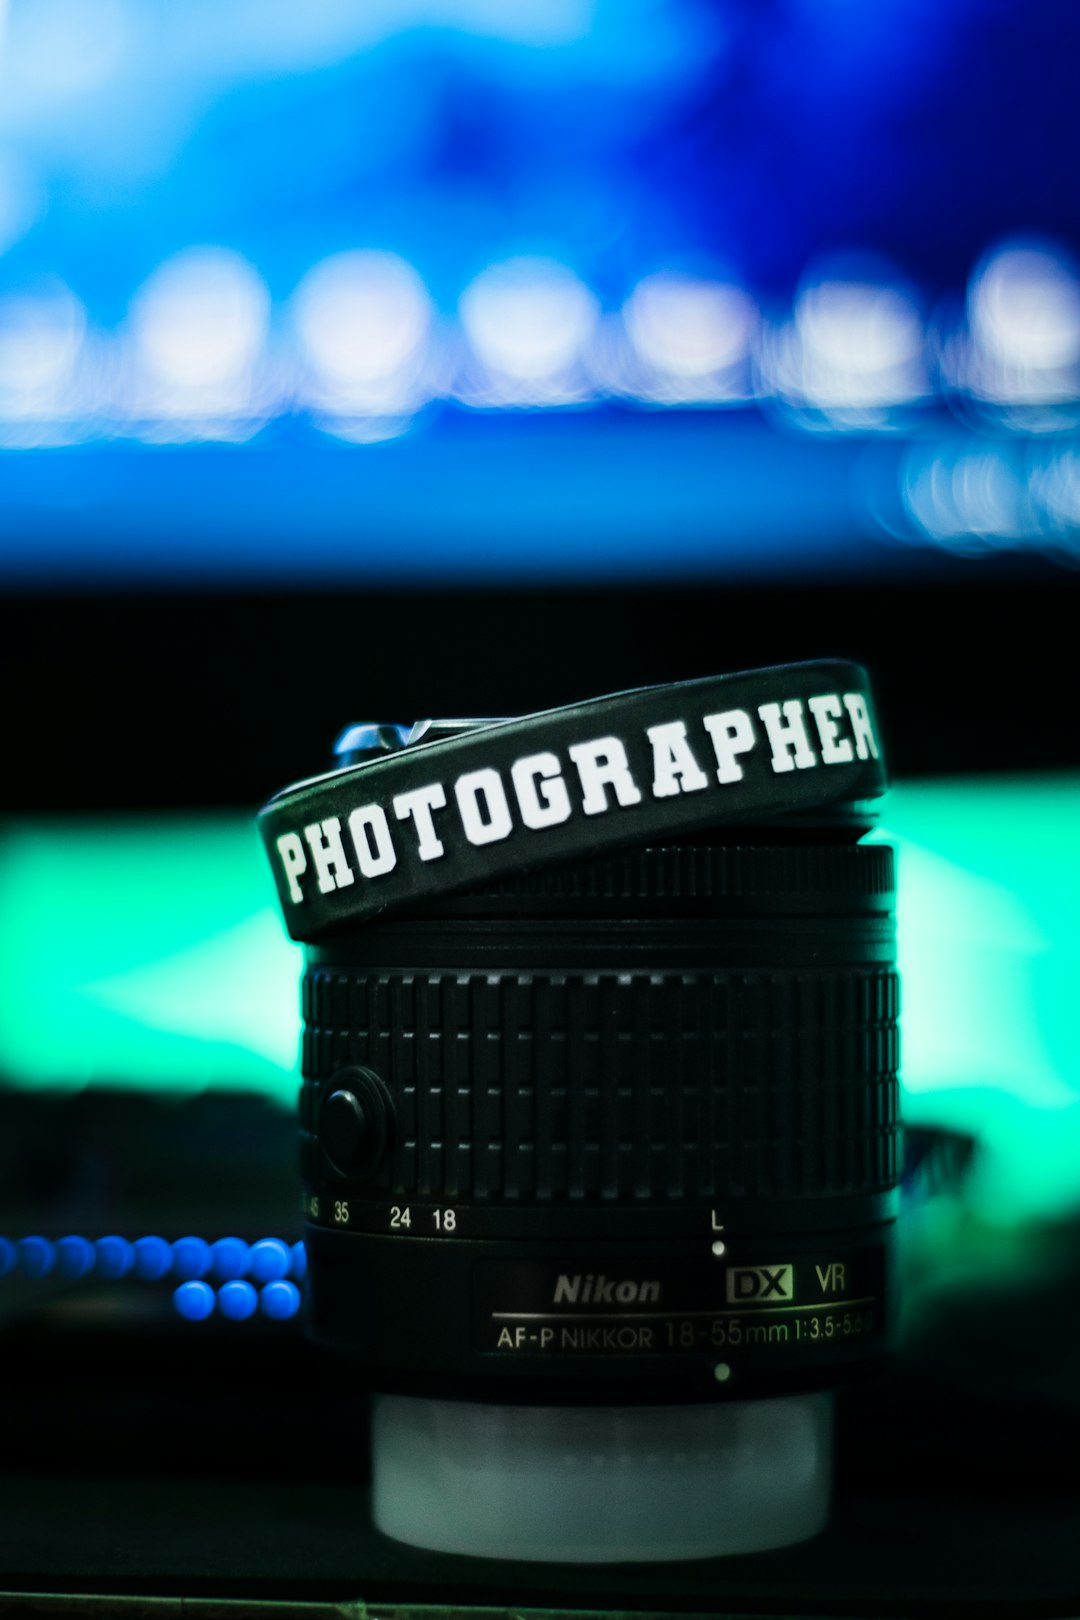
Essential landscape photography equipment including camera, tripod, and filters
Planning Your Landscape Shoot
Successful landscape photography often depends on thorough planning:
- Research locations: Use apps like PhotoPills, The Photographer's Ephemeris, or Google Earth to scout potential shooting spots.
- Check weather forecasts: Different weather conditions create different moods. Dramatic clouds, fog, or storms can add character to your images.
- Understand light: The quality of light changes throughout the day. Golden hour (shortly after sunrise or before sunset) provides warm, directional light that enhances textures and creates depth.
- Consider seasons: The same location can look dramatically different across seasons. Decide what elements you want to feature in your image.
Mastering Composition in Landscape Photography
Composition is the foundation of all great photographs. Here are some principles to consider when framing your landscape shots:
- Foreground interest: Include compelling elements in the foreground to create depth and draw the viewer into the scene.
- Leading lines: Use natural lines (rivers, roads, shorelines) to guide the viewer's eye through the image toward your main subject.
- Rule of thirds: Place key elements along the grid lines or at their intersections rather than centering everything.
- Simplify: Sometimes less is more. Eliminate distracting elements that don't contribute to your vision.
- Balance: Consider the visual weight of different elements in your frame and how they relate to each other.
- Scale: Include elements that provide a sense of scale to convey the grandeur of a landscape.
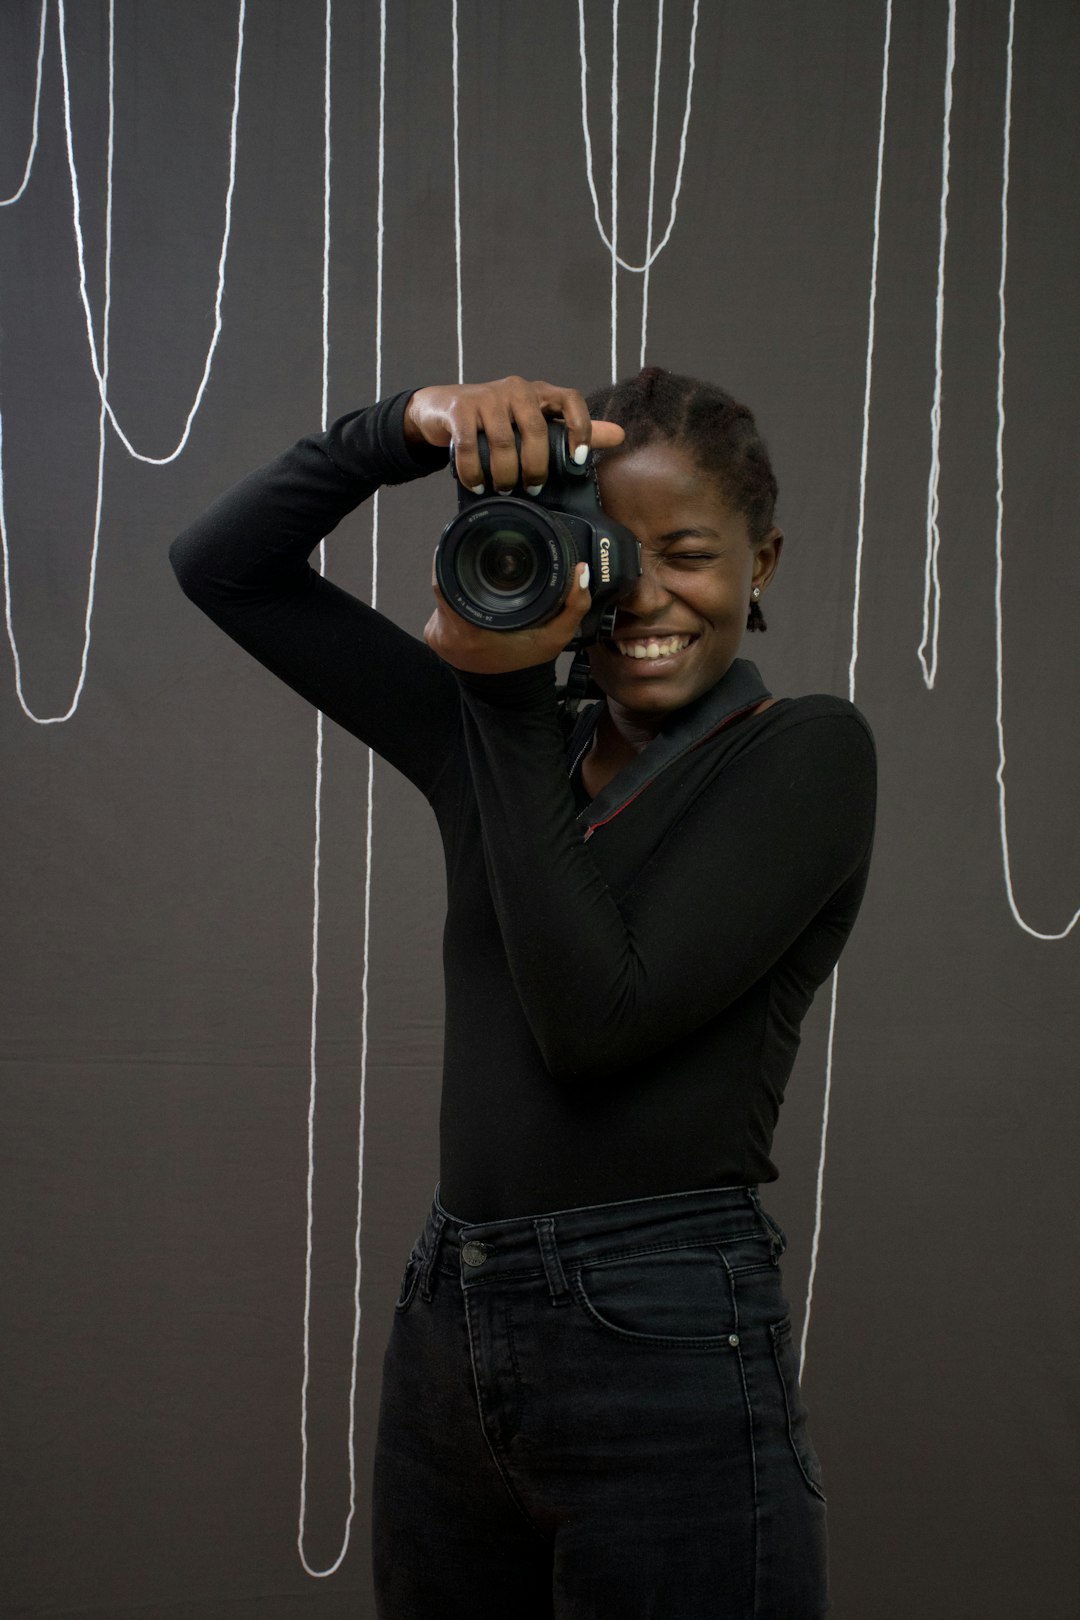
Example of using foreground interest and leading lines in landscape composition
Understanding Light in Landscape Photography
Light is the essence of photography, and its quality dramatically affects the mood and impact of your landscapes:
- Golden hour: The hour after sunrise or before sunset produces warm, soft light with long shadows that add dimension.
- Blue hour: The period before sunrise or after sunset when the sky takes on a deep blue hue, perfect for city skylines or twilight landscapes.
- Midday: Often challenging due to harsh contrast, but can work well for certain scenes like desert landscapes or when photographing in forests where dappled light filters through trees.
- Overcast days: Provide soft, diffused light that's excellent for waterfalls, forests, and scenes with vibrant colors.
- Dramatic weather: Storms, fog, or unusual atmospheric conditions can create moody, evocative images that stand out.
Camera Settings for Landscape Photography
While settings vary depending on conditions, here are some general guidelines:
- Aperture: For maximum depth of field, use a narrow aperture (f/8 to f/16). Be aware that very narrow apertures (beyond f/16) can introduce diffraction that reduces sharpness.
- ISO: Keep it as low as possible (typically base ISO, often 100) to minimize noise and maximize image quality.
- Shutter speed: With your camera on a tripod, this will be determined by your aperture and ISO choices. Use whatever speed gives proper exposure.
- Focus: For many landscapes, focusing about 1/3 into the scene (often called the hyperfocal distance) will maximize depth of field. Alternatively, focus stacking multiple images can ensure sharpness throughout.
- File format: Shoot in RAW for maximum flexibility in post-processing.
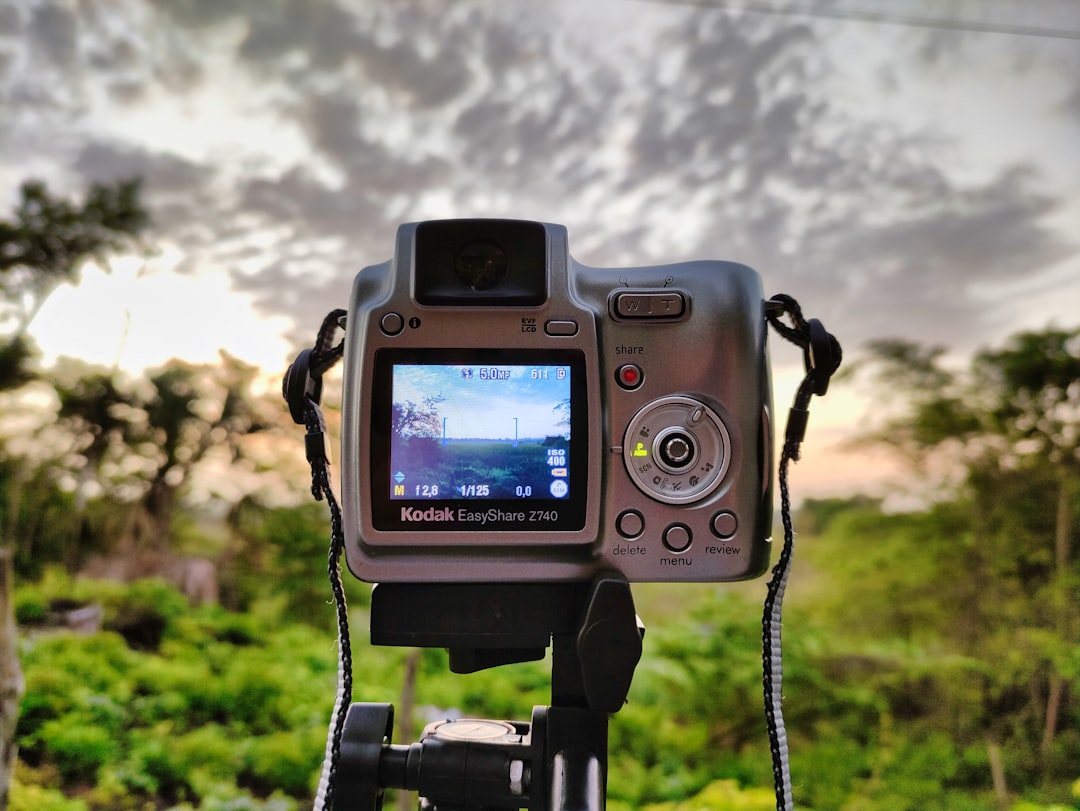
Typical camera settings for landscape photography
Advanced Landscape Photography Techniques
Once you've mastered the basics, try these techniques to elevate your landscape photography:
- Long exposures: Use neutral density filters to extend exposure time, creating smooth water, clouds with motion blur, or other ethereal effects.
- Panoramas: Capture multiple overlapping images and stitch them together for ultra-wide views with high resolution.
- HDR (High Dynamic Range): Combine multiple exposures to handle scenes with extreme contrast between bright skies and dark foregrounds.
- Focus stacking: Take multiple images focused at different distances and combine them for front-to-back sharpness.
- Night photography: Capture star trails, the Milky Way, or moonlit landscapes for dramatic effect.
Post-Processing Landscape Images
Post-processing is an essential part of landscape photography workflow:
- Basic adjustments: Start with white balance, exposure, contrast, highlights, and shadows to establish a balanced base image.
- Clarity and texture: Enhance the details and textures that make landscapes compelling.
- Color adjustments: Use vibrance, saturation, and HSL controls to fine-tune colors without making them appear unnatural.
- Dodging and burning: Selectively lighten or darken areas to guide the viewer's eye and add dimension.
- Graduated filters: Apply digital graduated filters to balance exposure between sky and land if not accomplished in-camera.
- Sharpening: Apply appropriate sharpening for your output medium (print or digital).
Environmental Considerations
As landscape photographers, we have a responsibility to protect the natural environments we photograph:
- Stay on designated trails and respect closures.
- Practice "Leave No Trace" principles.
- Be mindful of fragile ecosystems and wildlife.
- Consider whether to share locations of sensitive or lesser-known areas that might be damaged by increased traffic.
Finding Your Landscape Style
As you develop as a landscape photographer, you'll begin to discover your unique vision:
- Study the work of master landscape photographers for inspiration, but avoid simply copying their images.
- Consider what aspects of landscapes speak to you most—is it dramatic light, intimate details, atmospheric conditions, or human elements within nature?
- Develop a consistent editing style that reflects your vision.
- Return to locations multiple times to deepen your connection and create more meaningful images.
Conclusion
Landscape photography combines technical skill with artistic vision and a deep appreciation for the natural world. While mastering the craft requires practice and patience, the rewards are immense—not just in the images you create, but in the experiences you have while creating them.
Remember that some of the best landscape images come from connecting with a place, understanding its moods, and visiting repeatedly under different conditions. Take time to put down the camera occasionally and simply absorb the beauty around you. This connection to the landscape will ultimately shine through in your photographs.