Portrait photography is one of the most popular and rewarding genres in photography. It allows you to connect with your subject while creating beautiful, emotive images that capture personality and character. As a beginner, it might seem challenging at first, but with the right approach and techniques, you can create stunning portraits even with basic equipment.
Understanding Portrait Photography
At its core, portrait photography is about capturing the essence of a person. It's not just about getting a technically correct image of someone's face, but rather creating a photograph that reveals something about their personality, emotions, or story. Great portrait photographers know how to make their subjects comfortable, direct them effectively, and use light to enhance features and create mood.
Essential Equipment for Portrait Photography
While professional portrait photographers often use high-end gear, you can create beautiful portraits with relatively simple equipment:
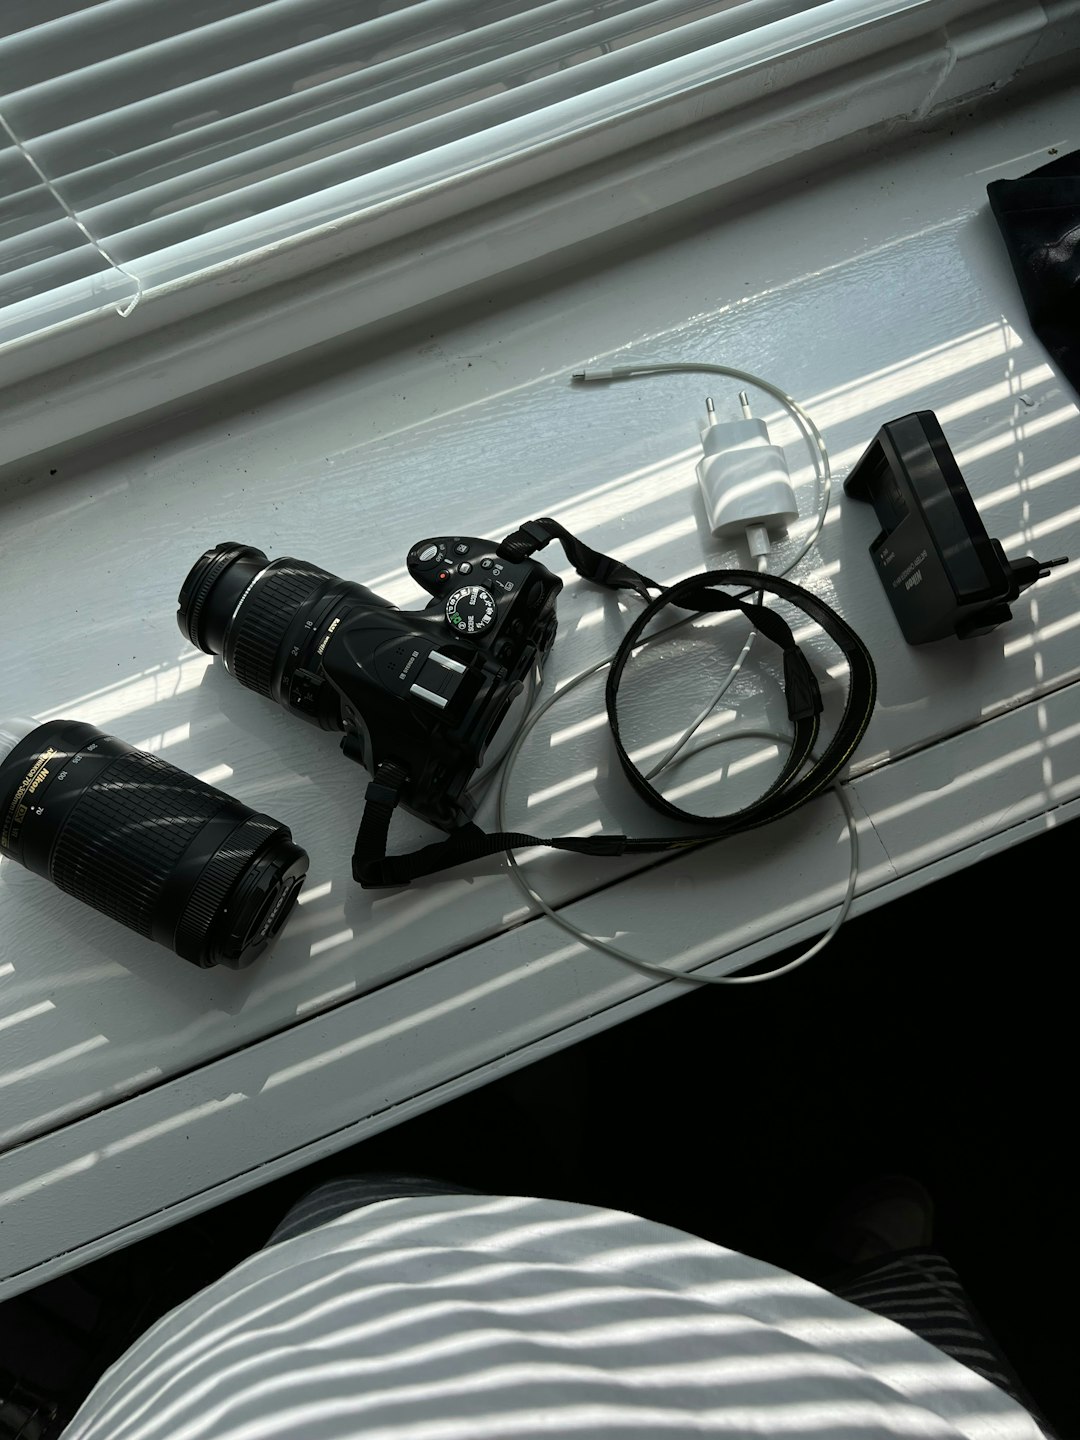
- Camera: Any DSLR or mirrorless camera will work well. Even a smartphone with portrait mode can produce excellent results for beginners.
- Lens: A 50mm or 85mm prime lens is ideal for portraits. These focal lengths create flattering perspective and compression, and prime lenses often offer wider apertures (like f/1.8) that create beautiful background blur.
- Lighting: Natural light is perfect for beginners. A reflector (which can be as simple as a piece of white foam board) can help bounce light to fill shadows.
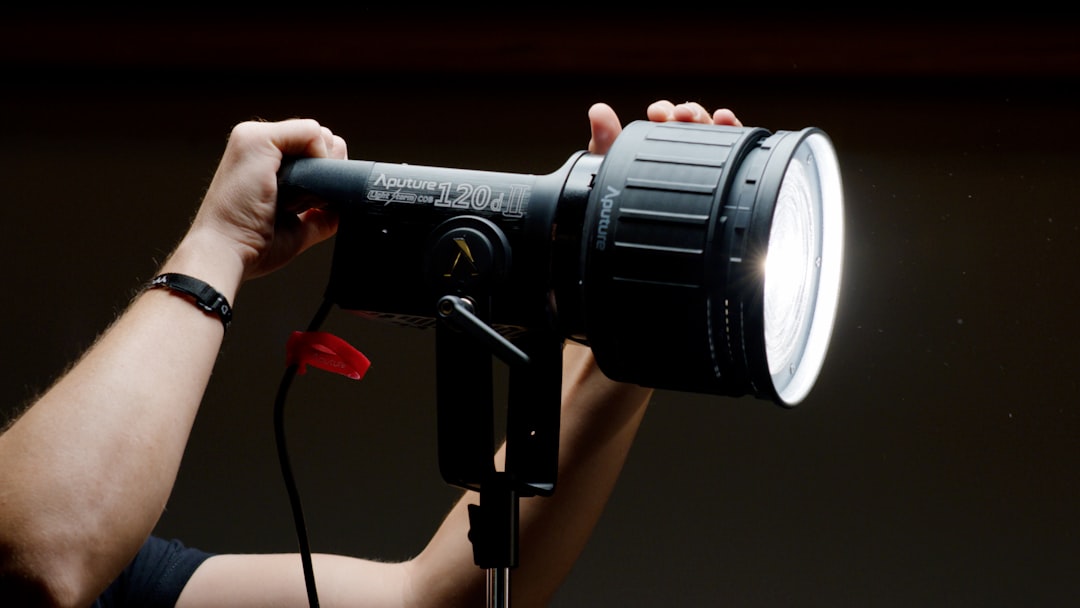
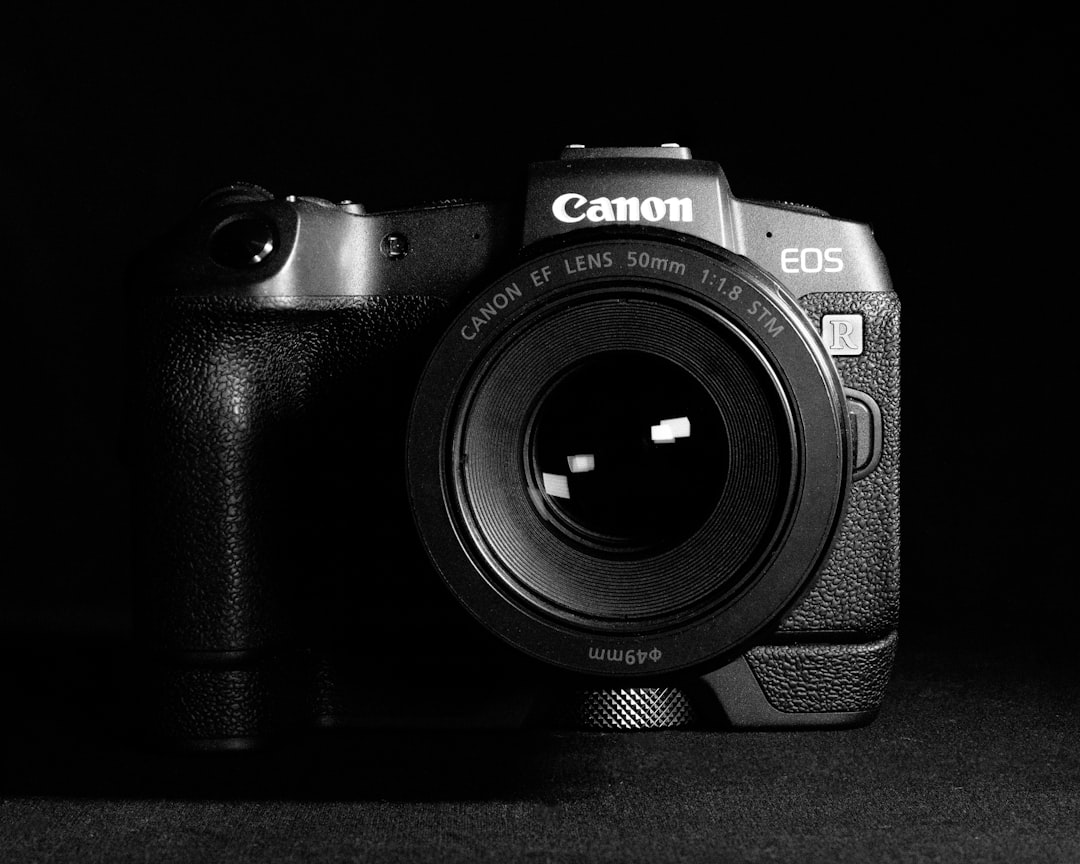
Basic portrait photography setup with a camera, 50mm lens, and reflector
Mastering Light for Portraits
Lighting is perhaps the most crucial element in portrait photography. Understanding how light affects your subject's face will dramatically improve your portraits:
- Soft light: Ideal for most portraits, soft light creates gentle shadows and flattering results. Look for shade on a sunny day, or shoot near a large window on an overcast day.
- Direction of light: Side lighting creates dimension and reveals texture, while front lighting minimizes texture (good for smoothing skin). Experiment with different angles to see how they affect your subject's features.
- Golden hour: The hour after sunrise or before sunset provides gorgeous, warm, directional light that's perfect for portraits.
Composition and Framing
How you compose your portrait significantly impacts its emotional impact and visual interest:
- Rule of thirds: Place your subject's eyes along the upper third line for a natural, balanced composition.
- Framing: Consider what to include in the frame. Tight headshots can be powerful and intimate, while environmental portraits that include surroundings can tell a broader story.
- Background: Look for clean, non-distracting backgrounds that complement your subject rather than compete for attention.

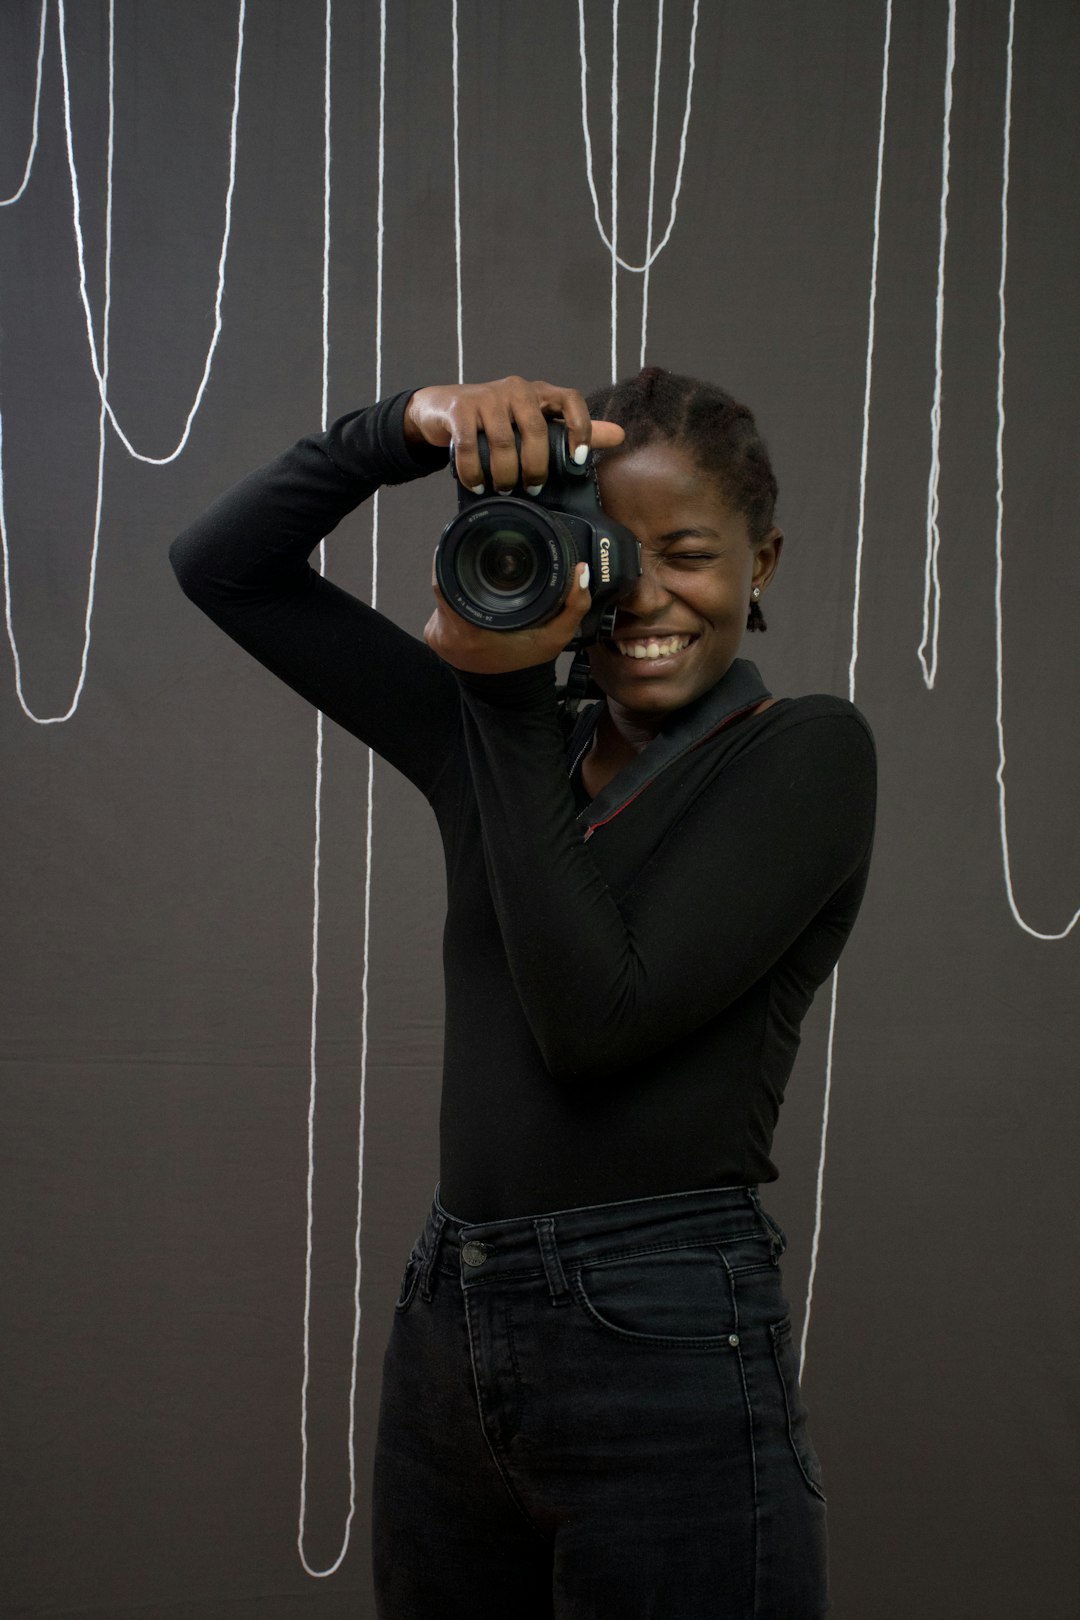
Example of portrait composition using the rule of thirds
Posing Your Subject
Posing can be intimidating for both photographers and subjects, but a few simple guidelines can help:
- Create angles: Straight-on poses often look stiff. Have your subject turn slightly to one side and angle their shoulders.
- Mind the chin: Ask your subject to push their chin slightly forward and down to define the jawline.
- Hands: Hands can be tricky - give them something to do (hold a prop, touch the face gently, rest in pockets) or keep them out of frame.
- Relax: The most important tip is to help your subject relax. Tense shoulders and forced smiles are immediately noticeable.
Connecting with Your Subject
The technical aspects of portrait photography are important, but connecting with your subject is what transforms a good portrait into a great one:
- Talk throughout the session to build rapport and help your subject feel comfortable.
- Give clear, positive direction rather than pointing out what's wrong.
- Show your subject a few good shots during the session to build confidence.
- Be patient and understand that most people feel awkward in front of the camera at first.
Camera Settings for Portraits
Start with these general settings and adjust as needed:
- Aperture: f/1.8 to f/4 for individual portraits with blurred backgrounds, f/5.6 to f/8 for group shots to ensure everyone is in focus.
- Shutter speed: At least 1/125s to avoid camera shake and subject movement.
- ISO: Keep as low as possible (100-400) while maintaining appropriate shutter speed.
- Focus: Focus precisely on the eyes, particularly the eye closest to the camera.
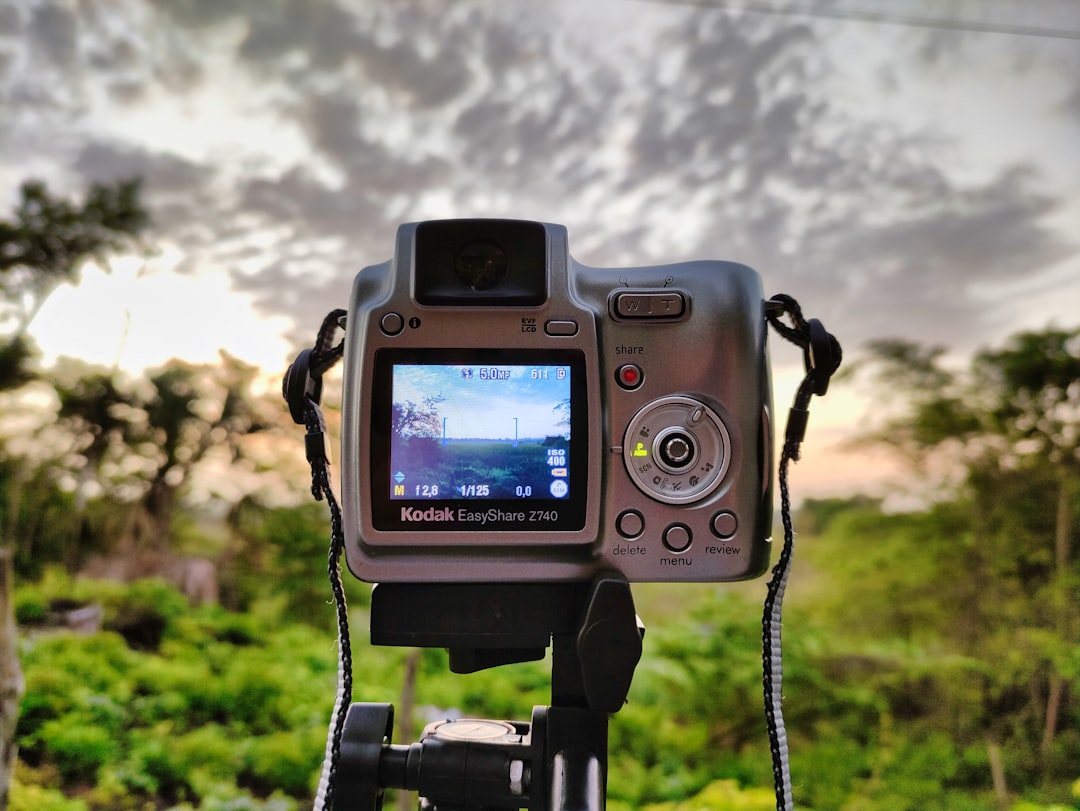
Camera settings for a portrait shot on a DSLR camera
Post-Processing Portraits
Even simple edits can significantly enhance your portraits:
- Adjust exposure, contrast, and white balance to achieve a natural, pleasing look.
- Lightly retouch blemishes that are temporary, but be careful not to over-edit and remove characteristics that make your subject unique.
- Consider black and white conversion for portraits with strong emotion or dramatic lighting.
Common Portrait Photography Mistakes
Avoid these common pitfalls:
- Focusing on the wrong spot (always prioritize the eyes).
- Cluttered or distracting backgrounds.
- Unflattering angles (shooting from below can emphasize the chin and nostrils).
- Over-editing that makes skin look unnaturally smooth or plastic-like.
Conclusion
Portrait photography is a journey of continuous learning and experimentation. Don't be afraid to try new techniques, break some rules, and develop your own style. Remember that creating a comfortable environment for your subject is just as important as mastering the technical aspects. With practice and patience, you'll soon be creating portraits that not only look professional but also genuinely capture the essence of your subjects.
Start with these fundamentals, and as you grow more confident, you can explore more advanced techniques like off-camera flash, creative compositions, and specialized styles of portraiture. The most important thing is to pick up your camera and start practicing!